Categories
Mining Machinery
Drilling Rig
Scraper
Shearer
Tunneling Boring Machine
Mucking Loader
Vibrating Screen
Sand Making Machine
Ball Mill
Flotation Machine
Magnetic Separator
Classifier
Thickener
Breaking trolley
monorail locomotive
Surface Miner
Jaw Crusher
Cone Crusher
Mining Dump Truck
Scraper Conveyor
Belt Conveyor
Impact Crusher
Portable Refuge Chamber
Mine Support Equipment
CO₂ Frac Equipment
Semi-trailers
Car carrier semi-trailer
Flatbed Semi-trailer
Stake Body Semi-trailer
Box Semi-trailer
Tanker Semi-trailer
Refrigerated Semi-trailer
Dump Semi-trailer
Wrecker Semi-trailer
Curtain Side Semi-trailer
Cargo Fence Semi-trailer
Lowboy Semi-trailer
Container Semi-trailer
Crane Mounted Semi-trailer
Livestock Semi-trailer
Used Semi-trailers
Used Car Carrier Semi-trailer
Used Flatbed Semi-trailer
Used Stake Body Semi-trailer
Used Box Semi-trailer
Used Tanker Semi-trailer
Used Refrigerated Semi-trailer
Used Dump Semi-trailer
Used Wrecker Semi-trailer
Used Curtain Side Semi-trailer
Used Cargo Fence Semi-trailer
Used Lowboy Semi-trailer
Used Container Semi-trailer
Used Crane Mounted Semi-trailer
Used Livestock Semi-trailer
Agricultural Machinery
Harvester
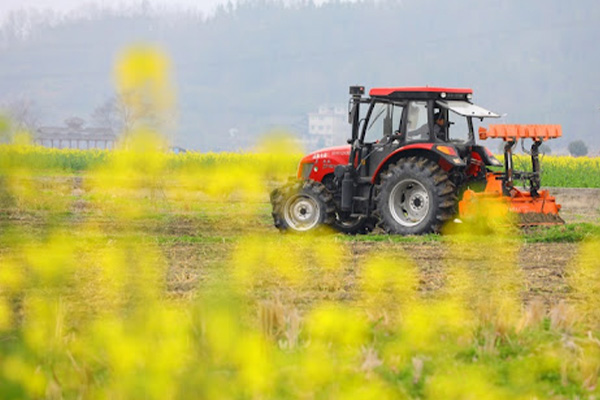
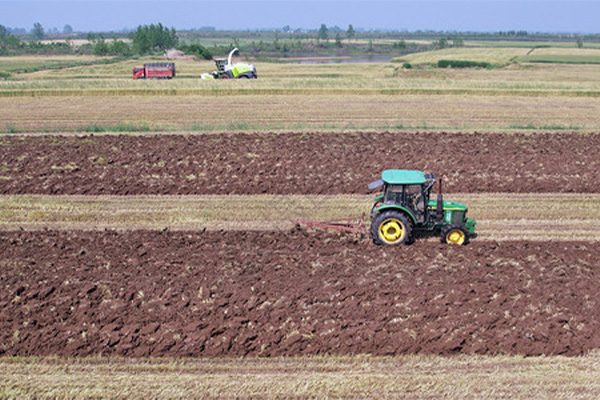
Tractor
Lawn Mower
Soil Cultivator
Ditching Machine
Mini Tiller
Rice Transplanter
Seeder
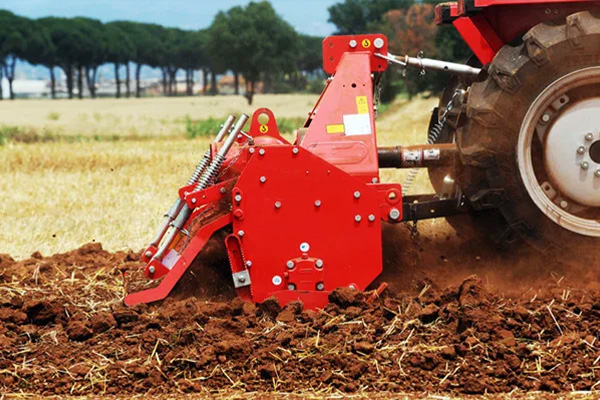
Rotary Tiller
Plough
Ridger
Rice Milling Machine
Swather
Spreader
Baling Machine
Pellet Mill
Harvester Machinery
sorting machine
cutting machine
Crusher
silage harvester
Planting Machinery
Air-assisted Sprayer
Agricultural Mixer
Other Agricultural Equipment
Industrial Equipment
Lathe
Elevator
Distribution Box
Conveyor Belt
Briquetting Machine
Centrifuge
Evaporator
Cold Press
Reactor
Condenser
Sand Mill
Production Line
Tank Equipment
Energy Storage Equipment
Fan Coil Unit
Mixing Equipment
Welding & Cutting Equipment
Hydraulic Equipment
Testing Equipment
Hydraulic Shearing Machine
industrial dryer
Rebar Processing Machinery
Metal Cutting Machinery
Mechanical Parts
Filters
Structural Parts
Sensors
Rubber Parts
Hydraulic Parts
Transmission Parts
Motors & Pumps
Engine Parts
Cab Parts
Chains & Sprockets
Pins & Bushes
Bolts & Nuts
Tracks & Tires
Bucket Teeth & Buckets
Switches & Relays
Travel System Parts
Slewing System Parts
Electrical System Parts
Cooling System Parts
Filtration System Parts
Fuel System Parts
Lubrication System Parts
Seals & Gaskets
Brake Pads & Brake Discs
Hydraulic Cylinders & Piston Rods
Lubricating Oil & Hydraulic Oil